2020 was a challenging year, forcing many of us to adapt to new realities. While it’s easy to focus on the things we missed or the upsetting changes, we also witnessed opportunities for progress and innovation.
We chose to embrace change, taking the proverbial lemons and baking up a quarantine lemony tart. In the earlier days of the pandemic, those who never considered themselves bakers found themselves experimenting with flavorful recipes for banana bread, dusting off their pasta makers, and jumping into the sourdough deep end. We found much-needed comfort in baking at home, some of us for the first time.
Ingredient Substitutions
Since pivoting to virtual baking classes, all of us at BAKE! had to let go of our previous ability to control baking variables, such as pre-measuring ingredients, setting out tools and equipment, and cooking in industrial ovens. As trepidatious as we were to start out on a completely new journey, our BAKE! mission
remained as true as ever: “We share our knowledge and love of baking with home bakers (now in their own homes!), seeking to preserve baking traditions, inspire new ones, and develop a community of avid bakers.”
In order to adapt and embrace baking successfully at home, we were required to explore smarter modifications and substitutions. Ingredients such as all-purpose flour, yeast, and sugar seemed like black market items (not to mention toilet paper and hand sanitizer). We discovered ways to work around such shortages; for example, we learned that you can mimic pastry flour by taking equal parts all-purpose (AP) and cake flour to achieve a similar level of protein content. We informed our students that both instant and active dry yeast work well in our yeasted doughs, and to stock up when you found either, since they have a long shelf life. The desire to instill confidence in our students about baking at home, regardless of recipe tweaks made out of necessity, became our top priority.
We’ve put together a round-up of smart swaps, for both ingredients and tools, to better equip our students with the fortitude to bake more at home. Here are some of our favorite modifications and suggestions to embrace and use what you have at home.
Flour Substitutions
All-purpose flour is common in most baking recipes, both sweet and savory. While some AP flours vary slightly in protein content (protein tells us how much gluten-developing potential a dough has), anything on your grocer’s shelves that is labeled AP is within a range of 10-12% protein.
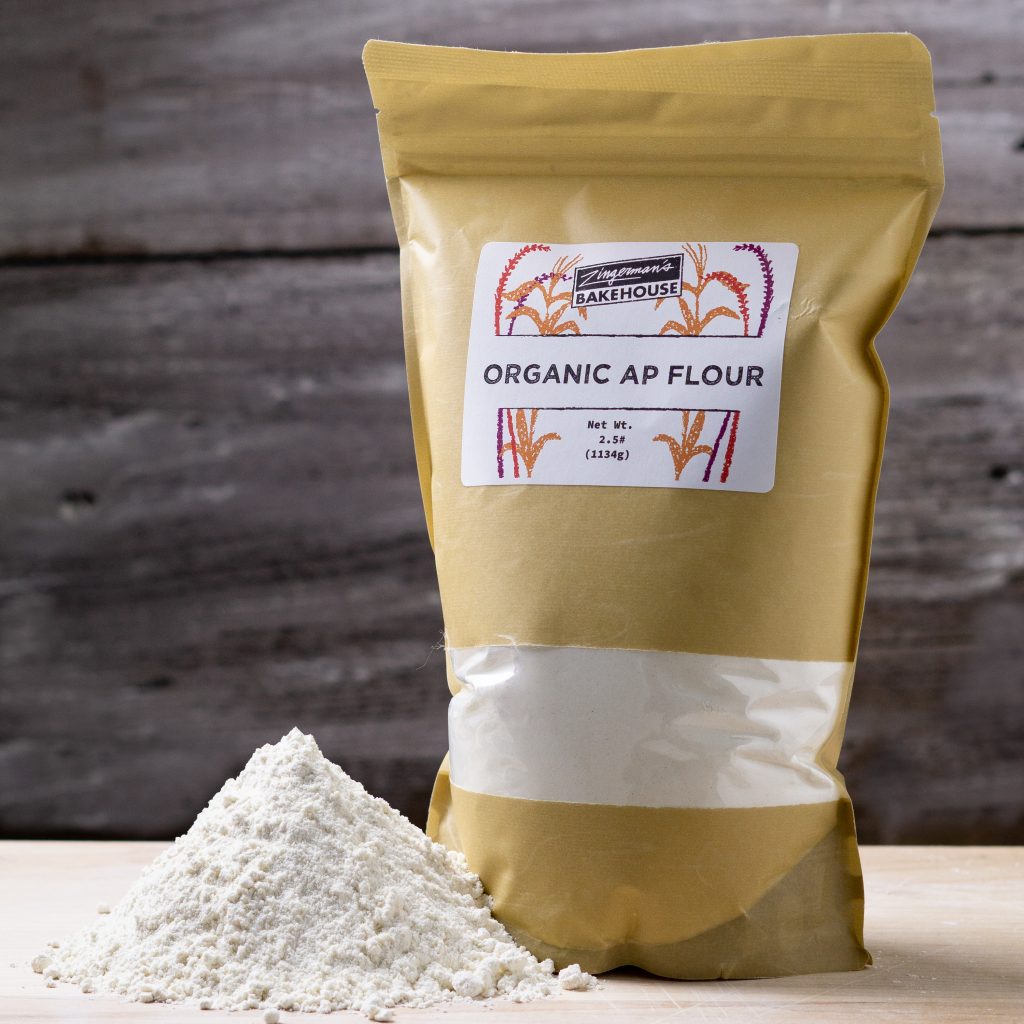
Recipes that require shaping or rolling by hand usually require more strength in your dough, and that strength gets developed using flour with a higher protein content. If you can’t get your hands on AP, you can substitute it with equal amounts of bread flour.
If you need cake or pastry flour for a recipe, but you only have AP in the pantry, no worries! For every 100 grams of AP, add 10 grams of cornstarch. That will mimic the softer texture of cake and pastry flours, and will keep your batter or dough more tender.
Regarding whole wheat flours, the substitutions aren’t 1:1. While there are lots of types of whole wheat flours out there, the most consistent characteristic they share is that they absorb more liquid than softer white flours (like AP). Swapping them equally results in a stiffer, dryer dough and sometimes affects the rise of yeasted baked goods. While we don’t recommend an even whole wheat for AP swap, you can use up to 25% of the total AP flour a recipe calls for and trade in whole wheat for the rest. This is a great way to experiment with more nutrition and flavor in your baked goods.
These flour suggestions are approximate. We have found that when needed, you can make these swaps and still see similar results to the way a recipe would typically turn out. Baking is a science, of course, so we always suggest using the flour called for in your recipe for the most consistent results.
Sugar Substitutions
For a majority of recipes, the type of granulated sugar isn’t make or break. Most white sugars work well, whether it comes from sugarcane or beets. The only time we see a significant difference is when executing sugar work (pulling or spinning sugar).
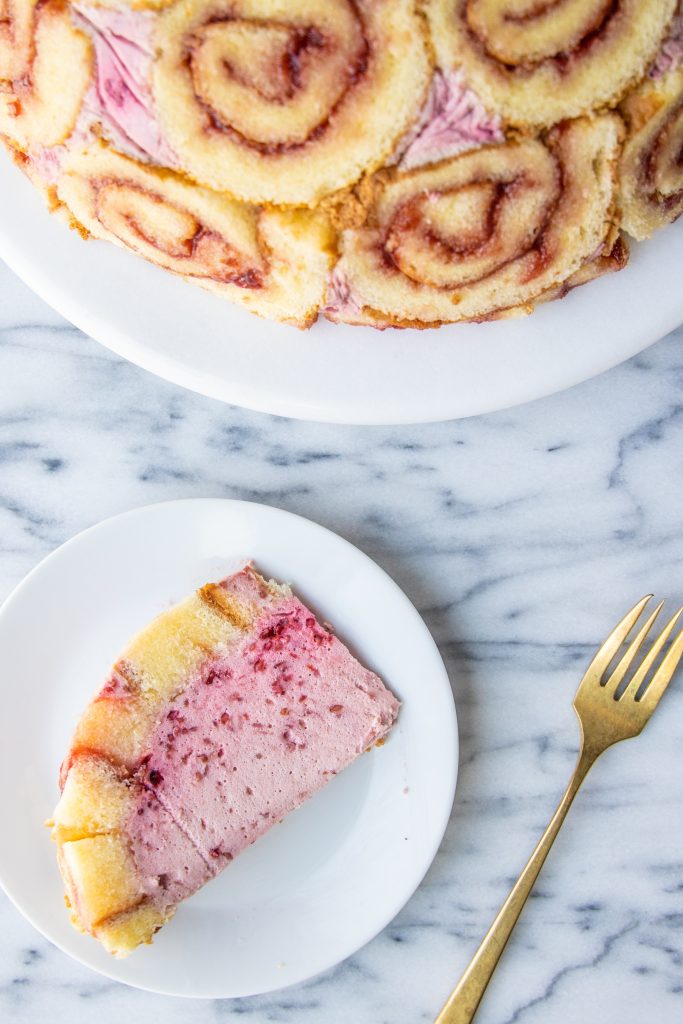
When a recipe calls for light or dark brown sugar, they’re typically interchangeable. Dark brown sugar has more molasses, resulting in a slightly stronger flavor. But in small quantities, less than 1 cup, it’s indistinguishable in baked goods. However, when a recipe calls for Muscovado brown sugar, we suggest splurging on it for a bigger punch of caramel and toffee notes. It’s a super tasty ingredient in many of our Bakehouse favorites, such as our Ginger Jump-Up cookies, Gingerbread Coffee Cake, and our Pecan Pie.
Dairy Substitutions
We always recommend baking with unsalted butter. Considering that salt content in manufactured butter is not regulated, we use unsalted in order to control how salty our baked goods are. Most recipes call for “room temperature” because it aids in even mixing, but room temperature can vary from kitchen to kitchen. If you can’t easily dent a finger into your butter, we suggest microwaving it for 5 to 10 seconds to soften it up a bit. Try to avoid accidentally melting your butter, unless your recipe specifically calls for it.
Forgot to pick up buttermilk at the grocery? Not to worry, you can make it in a pinch by “souring” milk with lemon. For every cup of whole milk (the preferred choice of milk for baking), add 1 tablespoon of lemon juice. If you don’t have lemon juice, vinegar works, too. Let stand for 5 minutes before using.
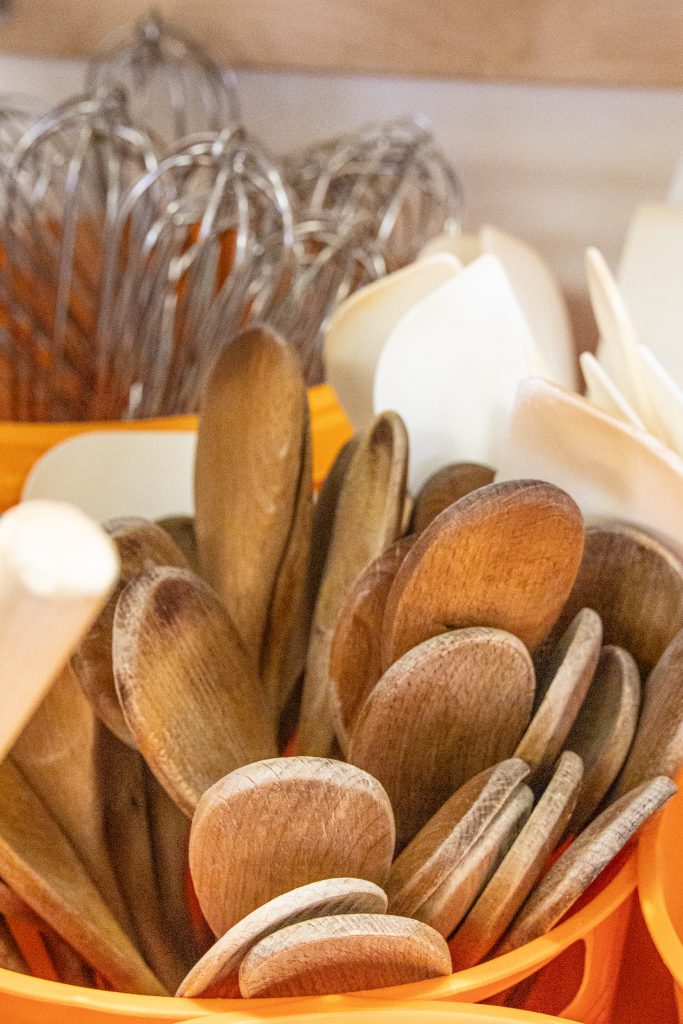
Equipment Substitutions
Since our students are using what they already have at home, we’ve learned to make it work! When in doubt, choose a sheet pan with a lip on it, as opposed to a totally flat one (just in case whatever you’re baking leaks a bit of butter or filling on the tray).
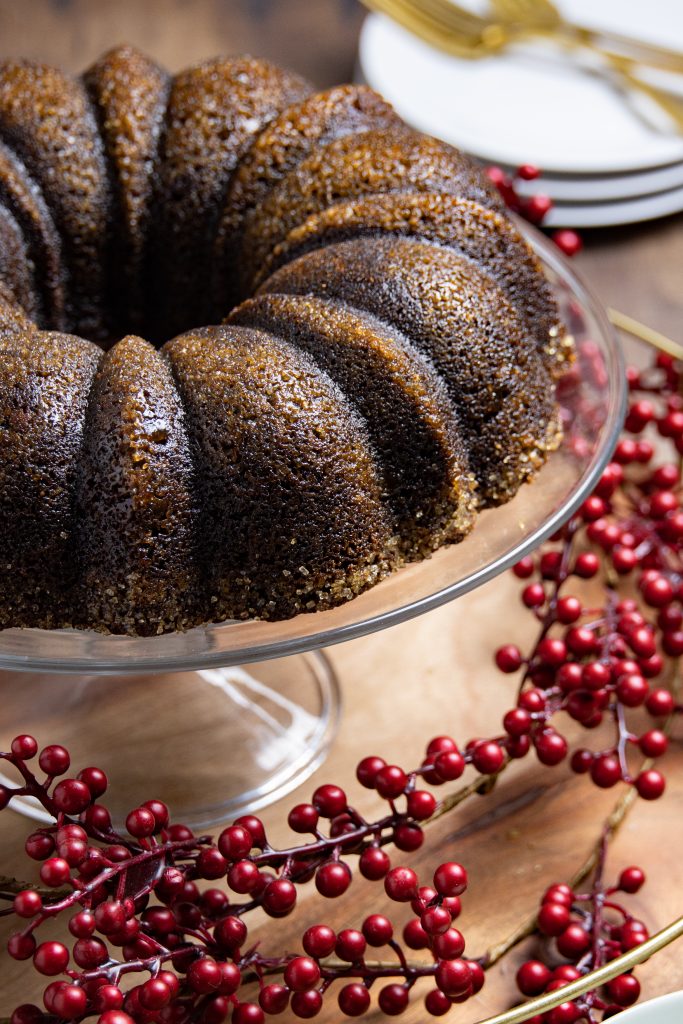
Don’t have a 10- or 12-cup bundt pan? You can use two standard loaf pans, either 8 x 4 or 9 x 5. It’ll affect baking times, so keep a close eye on things. The same goes for cake pans; you can use two 6-inch pans instead of one 9-inch pan—again, remember to watch your baking time.
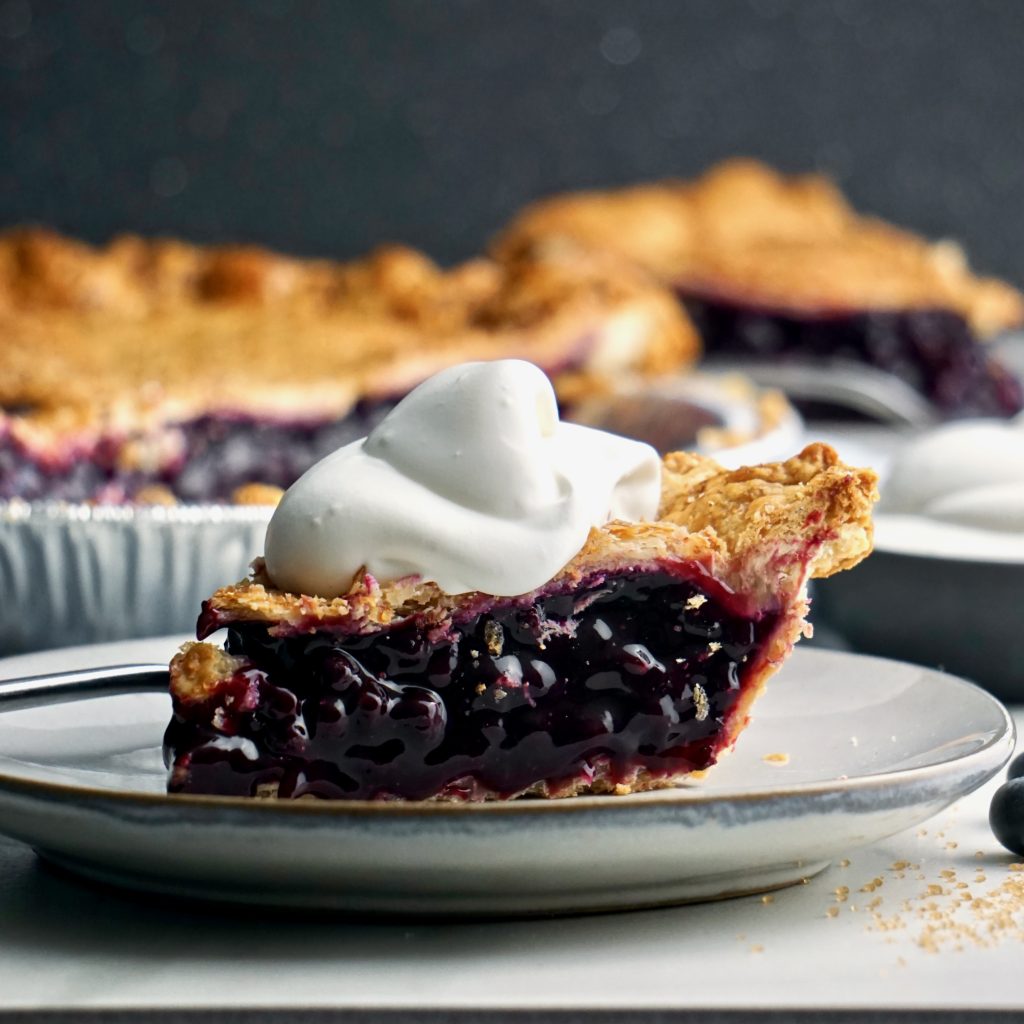
If you’re in need of pie weights, no need to break the bank with expensive ones that are mono-use. We use dried beans, like pinto, in their place. Also, other dry pantry staples such as rice or lentils work well, too. Our suggestion is to crumple a piece of parchment paper, open it up and place it between your crust and the pie weights of choice. The crumpled paper fits nicely inside of your pan, resulting in a better shape after baking.
Equipment Recommendations
One of our most versatile kitchen tools is a plastic card, also known as a bowl scraper. We use it for everything! You won’t find us making breads, pastries, cookies, brownies, or scones without one. They’re flexible and very helpful with scraping down bowls and countertops. If you don’t have one, a nice sturdy rubber spatula will work, too. We recommend a heat-proof spatula, so it can be as versatile as possible.
 Dark metal pans often heat up faster than lighter ones, so check for doneness earlier. We find that glass pans sometimes don’t bake as evenly as metal ones, we generally prefer the even thickness and even bakeability of metal.
We have a couple of recommendations on equipment to invest in, especially if you find yourself baking and cooking at home more than ever. The biggest game-changers with home baking are using a kitchen scale and an oven thermometer. A scale delivers accuracy that volume measuring can’t quite match. It’s also much easier to half, double, or triple a recipe using weight. An oven thermometer helps us gauge optimum baking temperatures in our home ovens, which can be notoriously different from what we think they’re at. A thermometer that hangs in the middle of your oven will clue you in on what the exact temperature is. Also, always give your home ovens at least 20 minutes to preheat!
These kitchen hacks, substitutions, and recommendations are a culmination of what we’ve learned since the start of the pandemic, but it doesn’t stop there. We’ve learned a tremendous amount about how to set up home bakers for success, regardless of whether or not you can get to the store. While it’s best to plan and/or shop before you start a baking journey, we hope that you’ll be more confident in using what you have on hand.

Meg Panchame
Meg is a native southeast Michigander who realized at a formative age that baking was her passion. At age 12, in the checkout line of the grocery store, she spotted a pool-themed cake on the cover of Home and Gardens and knew that she needed to recreate it. Meg’s grandmother taught her everything she knew in the kitchen growing up. She then went on to culinary school at Johnson & Wales University in Providence, RI. From there, she worked everywhere from 5-star hotels and MLB stadiums, to small organic bakeries and family-owned restaurants. With a varied range of experiences in both back and front of house hospitality positions, Meg has found her “dream job” with Zingerman’s in teaching others as she was once lovingly taught.
This is a really helpful capture – worth the time and effort to put it together. I’ve already made some of these changes/hacks in my baking – thermo in oven, scale weights, Bundt cake subs – and it makes a noticeable difference. The flour differences AP to wheat, etc is not something I’ve explored before – I will now!